
This is a guest post by Linda Haviv, a web development student and Community Engagement Producer at Fox News. This post originally appeared on Medium.
Web scraping is so cool but if you have never done it before you may not know where to begin… not to worry! The following is a beginner’s guide to web scraping in Ruby.
Web scraping is so cool but if you have never done it before you may not know where to begin… not to worry! The following is a beginner’s guide to web scraping in Ruby.

When I was first introduced to data scraping, I was super excited to give it a try. I had so many ideas of pages I wanted to scrape data from… but as I sat at home with my EXTRA LARGE cup of coffee, I didn’t really know where to begin or what to do first. After all, Scraping does combine so many different elements and can get quite complex.
After staring at an empty directory for quite some time, I decided to dig in and make a guide that can help anyone in a similar position take his or her first steps in to the magical world of scraping.
**Please note that there are many different ways to achieve the same thing. The steps below are not the only way to set-up your environment.
What is data scraping?
Data scraping is the process of taking output that was originally intended to be human readable and extracting data from it so you can use that data in your program.
Why would you data scrape?
We data scrape to extract data from something that is not providing information that we need — where no API or RSS feed is available to give us raw information.
Welcome Nokogiri!!
What is Nokogiri?
Nokogiri is a fantastic ruby gem that describes itself as an “HTML, XML, SAX, and Reader parser.” In other words: It will serve almost all of our HTML scraping needs .
**Side-note:
What is the difference between a scraper and a parser? Technically scraping is the act of bringing the data down and parsing is the act of making sense of the data. Nokogiri parses data with CSS selectors, which we will discuss momentarily.
**LET’S BEGIN OUR CODE-ALONG!**
Let’s learn how to scrape by using a simple example:
Start by going to Nike.com. Our goal is to scrape all the men’s shoes names & prices. By the end of the exercise, we will output this data nicely in the terminal.
This is the specific url we will be using:
“http://store.nike.com/us/en_us/pw/mens-nikeid-lifestyle-shoes/1k9Z7puZoneZoi3"
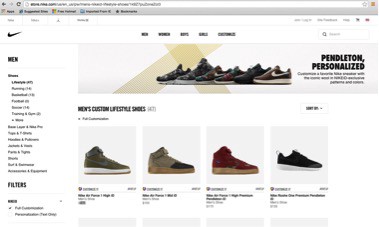
Nike Men’s Shoes
STEP 1
INSTALL NOKOGIRI
The first thing you need to do to use Nokogiri is to install it. Go to your terminal and type in the following code
gem install nokogiri
STEP 2
MAKE A NEW DIRECTORY IN YOUR TERMINAL
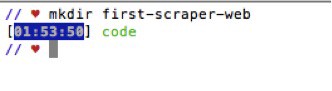
Make a new empty directory by going to your terminal and typing “mkdir” and the name you would like to call the directory. Let’s call ours “first-scraper-web”:
STEP 3
MAKE A LIB DIRECTORY (w/ a file)
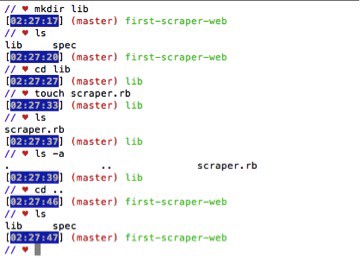
Make a lib directory with a new file inside by typing the following code in your terminal:
STEP 4
REQUIRE ‘NOKOGIRI’ & ‘HTTPARTY’
Open your new file that is located inside the lib directory in your text editor and “require ‘nokogiri’ at the top of the page:
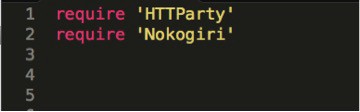
**HTTparty is a gem that makes HTTP fun! It is the gem our scraper will use to send an HTTP request to the page(s) we’re scraping.
**You can also require ‘Open_uri’: “open-uri” is part of the standard of the standard library so you don’t need to install a gem to get it. You should already have it and what this allows us to do is actually go out and download the webpage and parse it.
STEP 5
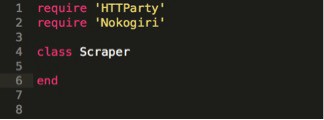
CREATE A CLASS
In your new file in the lib directory make a class. Let’s call ours Scraper.
STEP 6
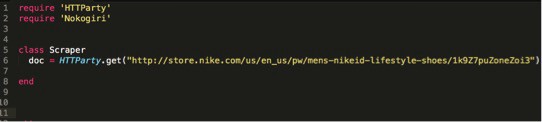
SEND AN HTTP REQUEST TO THE PAGE
Let’s create a variable called “doc” and set it equal to an HTTParty GET request of the URL we are going to scrape.
STEP 7
ENTER NOKOGIRI
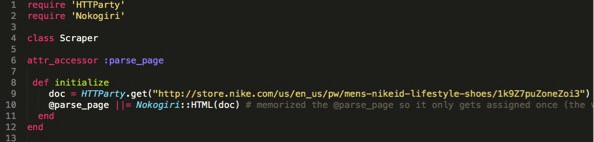
The Nokogiri::HTML construct takes in the opened file’s info and wraps it in a special Nokogiri data object. Make that object equal to an instance variable. Let’s call it “@parse_page”. We are making an instance variable because we will need to use this variable throughout the class.

Step 8
INITIALIZE
Make an initialize method and place the code with the doc HTTP request and the @Parse_page instance variable in to it. Also add the @parse_page instance variable as an accessor as follows:
Step 9
NOKOGIRI & CSS SELECTORS
CSS- Cascading Style Sheets — describe how HTML elements are to be displayed on screen, paper, or in other media.
To scrape you will need to select an element. To select an element simply pass the name of the element you want into the Nokogiri document object’s CSS method.
Go in to the console of the webpage you want to scrape by right clicking inspect on the specific part you would like to check (or by typing Option-command-i).
STEP 10
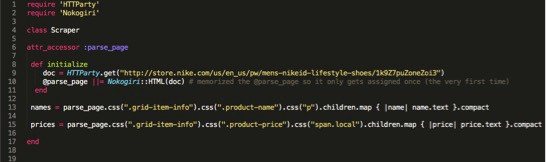
FIGURE OUT WHAT YOU WANT TO SCRAPE
Start by figuring out what information you want to scrape. In our example we will be scraping the name and price of the 47 sneakers in the Male Sneakers section.
Start by playing around in your terminal and once you are able to figure out how to iterate through the HTML using the CSS selectors and display what you are looking for, paste the code in to your text editor. You can do this by using irb, pry or inspect.
Once you have the code that will find what you are looking for paste it in.
STEP 11
MAKE YOUR WEB SCRAPING CODE SHORTER
To make your code cleaner, if you have repetitive code for a few of your elements make a variable equal to that code or a method that contains that code and use that in the web scraping code to make it easier to read. I made a method called “item-container” that contains code I used to both scrape the name and price of the sneakers. I can now take the “item-container” method and use it in my code to make it more readable. (refer to the previous figure for comparison of the code).
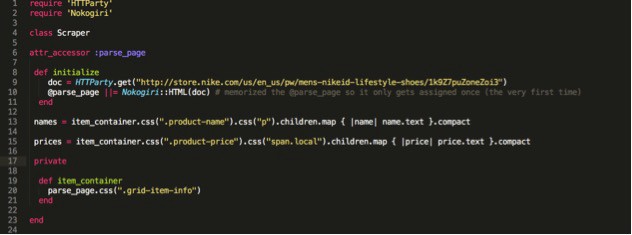
- * I made the item container method private since it contains information that I will only use within the class.
STEP 12
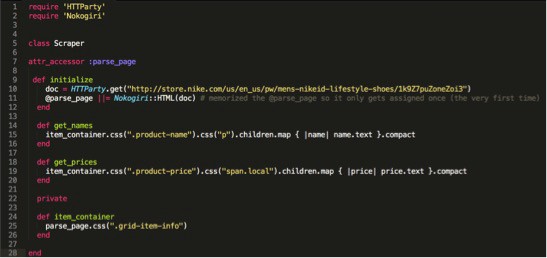
MAKE METHODS FOR OUR SCRAPED ELEMENTS
Let’s make methods for both the names and prices of the sneakers that can iterate through the list and put out the information. We will use this by using “.map”.
STEP 13
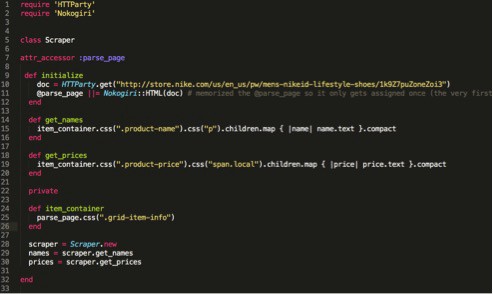
MAKE A NEW CLASS INSTANCE OF THE SCRAPER CLASS
We want to be able to print out all this info in the terminal. Let’s start my making a new class instance. Let’s also apply the names & prices methods on to this class.
STEP 14
MAKE SNEAKERS DISPLAY WITH THE NAME AND ASSOCIATED PRICE
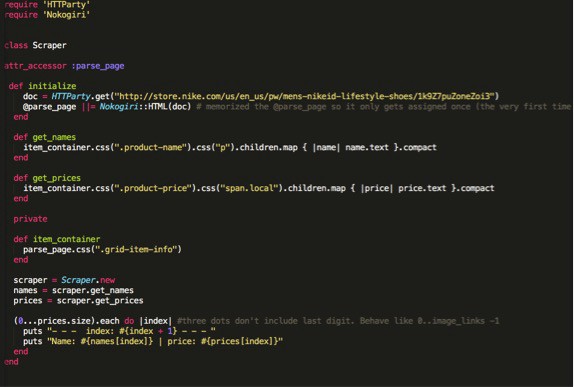
To bring it full circle, let’s make a method that prints out the name and price of each sneaker and number them. We can loop it using “.each”.
We can do this using the following method:
Let’s see what it looks like in the terminal….
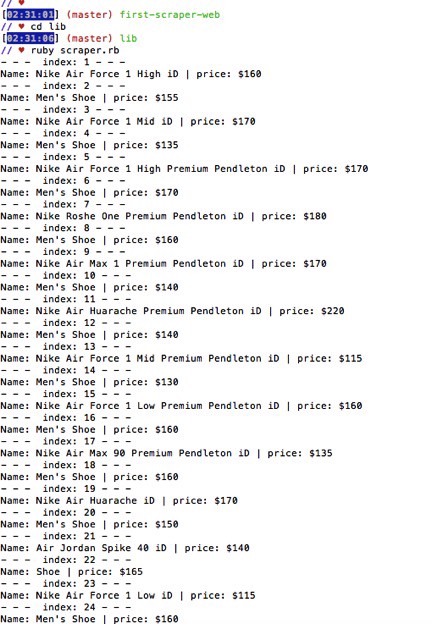
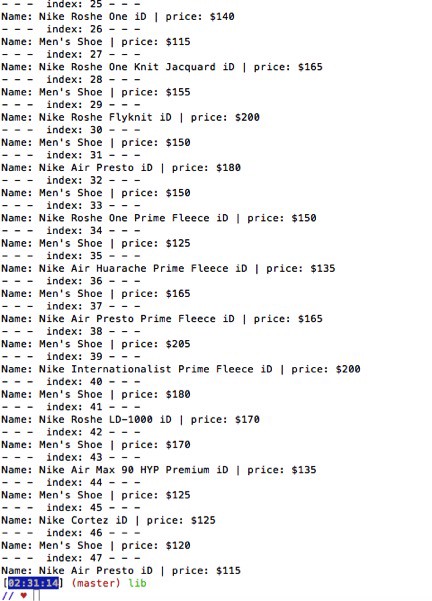
GOOD JOB!
— — —
FOR PERSONS FARMILIAR WITH RUBY TESTING…
***If you would like to make tests (since ruby is a test-driven language), add these steps..***
1. SET UP RSPEC
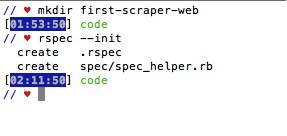
The next step is to set up rspec. Type “rspec –init” in your terminal. This will create (1.) a file called “.rspec” (2.) & a directory spec/spec_helper.rb
· The purpose of the .rspec file is that you can put any flags that you want to set when you run rspec in here.
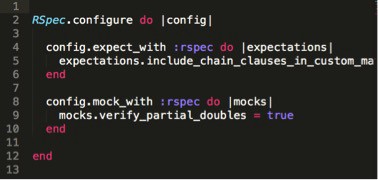
· If you open the spec_helper.rb file in your text editor you will see a bunch of comments but we can delete all that for now so it’s easier to read your code. After you delete your comments your code in the spec_helper file should look like this:
2. NEW GIT REPO
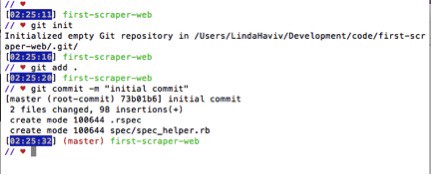
Make this a git repo, by typing the following in your terminal:
· Git init
· Git add .
Git commit –m “Initial commit
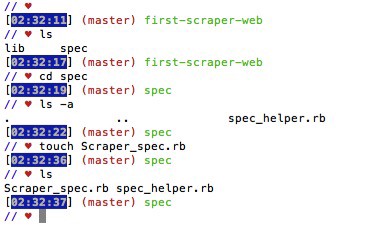
3. MAKE ANOTHER FILE IN THE SPEC FOLDER
Create a file called spec/Scraper_spec.rb (you want it in the spec folder)
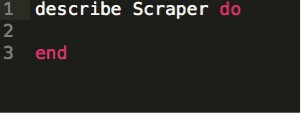
We will type the following in the Scraper_spec.rb folder:
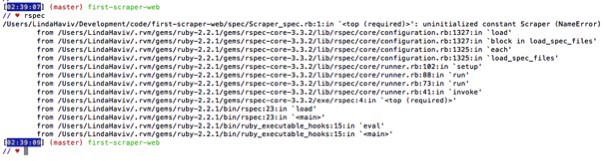
· At this point we should have a failing test. It’s going to say that the scraper constant isn’t defined. This is us just making sure that everything is just wired up correctly. →
· When we run the test it should read this file and fail. That’s what we want to see because we haven’t created any Scraper class yet to go with this test.
4. ADD YOUR TESTS… :)