This is a guest post by Samir Talwar, a software developer based in London. Samir cares deeply about software quality and craftsmanship. You can read more of his writing on his excellent blog and follow him on Twitter.
I run a few websites. The one that gets the most traffic right now is communitycodeofconduct.com, which is used by a number of software communities as a place to start thinking about how their community behaves to each other.
I host that site at zero charge.
GitHub Pages, and the decline of the server
I’m sure you know of GitHub already. It’s where people host their source code, both for their open-source projects and for private stuff. You may also have realised that many open-source software teams host their website on GitHub too. For example, the website of my favourite command-line tool, jq, is hosted on GitHub Pages, among many others.
Now, in general, GitHub Pages is intended to host websites that are associated with open-source software, keeping both the source code and the website in one place. However, nothing’s stopping you from simply pushing up a website with no associated source code (aside from the source of the website itself, of course). All you need is a repository with a gh_pages branch and their servers will take care of the rest.
Your domain name will be [username].github.io. We’ll talk about custom domains later. You can also host websites at [username].github.io/[repository], but that should generally be reserved for websites tied to a source code repository.
Getting used to client-side coding
For a number of a reasons, GitHub Pages don’t allow server-side code, so you’re limited to HTML, CSS and JavaScript. However, it’s based on Jekyll, a website pre-processor, so you have a few more options. Jeykll allows you to use languages such as Markdown or Textile so you don’t have to think about HTML when you’re worrying about content. In addition, it allows for more advanced templating than HTML gives you on its own, using Liquidfor pre-processing. This means that you can create a layout file called_layouts/default.html, like this:
And then a content file in Markdown, named index.md, like this:
---
layout: default
title: Example
---

# This is a heading

And here is some *emphasised* and _strong_ text.

  1. Lists are great in [Markdown](https://daringfireball.net/projects/markdown/).
  2. You just start typing and they appear.
  3. Your code looks just like the output.
  4. Nested lists work too:
    * This one's unordered.
    * Just like you would when you're hashing out notes.
    * Very little thinking required.
The block at the top is called “YAML front matter”, and is used both by the Jekyll pre-processor and by your own templates. In this example, the layoutproperty specifies the layout file to include the contents in, and the titleproperty is used by that layout to set the page title. Remember that even if you don’t have any properties to include, Jekyll will only convert Markdown into HTML if you include a block, so just create an empty one:
---
---

# Here goes the Markdown.
Jekyll has much more functionality than this. For example, it can generate a blog index from a series of files representing your blog posts. To explore these and more, check out the documentation.
Let’s see what it looks like
In order to see your site, you’ll need to run Jekyll locally. The simplest way to do this is to install the github-pages gem. This gem doesn’t provide any functionality on its own, but simply depends on the same version of Jekyll as GitHub do, as well as include the extra functionality they bundle on top of it, such as a plugin for Jekyll that generates an Atom feed of your blog posts.
Install the latest version of Ruby if you don’t have it already (I recommend using RVM), then install the github-pages gem:
$ gem install github-pages
If you have installed RVM, I’d recommend segregating your GitHub Pages “gemset” from others beforehand so that you don’t get gem collisions, and marking the directory as such:
$ rvm use --create --ruby-version ruby@github-pages
This will create a special directory for your GitHub Pages gems, and switch your GEM_HOME environment variable so that you only use the gems in that directory. It will also create two files, .ruby-version and .ruby-gemset, that instruct RVM to always use this particular Ruby version and gemset in this directory. For example, at the time of writing, I’m running the latest version of Ruby (v2.3.0), so my .ruby-version is ruby-2.3.0 and my .ruby-gemset, as specified, is github-pages. Then install your gems as normal.
Once you’ve done that, you can start a Jekyll server. The Jekyll server compiles your files once, when it starts, into a website and stores it in the_site directory.
$ jekyll serve --watch
The --watch switch tells it to regenerate the files each time you change anything. This is only used during in development—when you publish your site, it will only be generated once, then served until you modify it and re-publish.
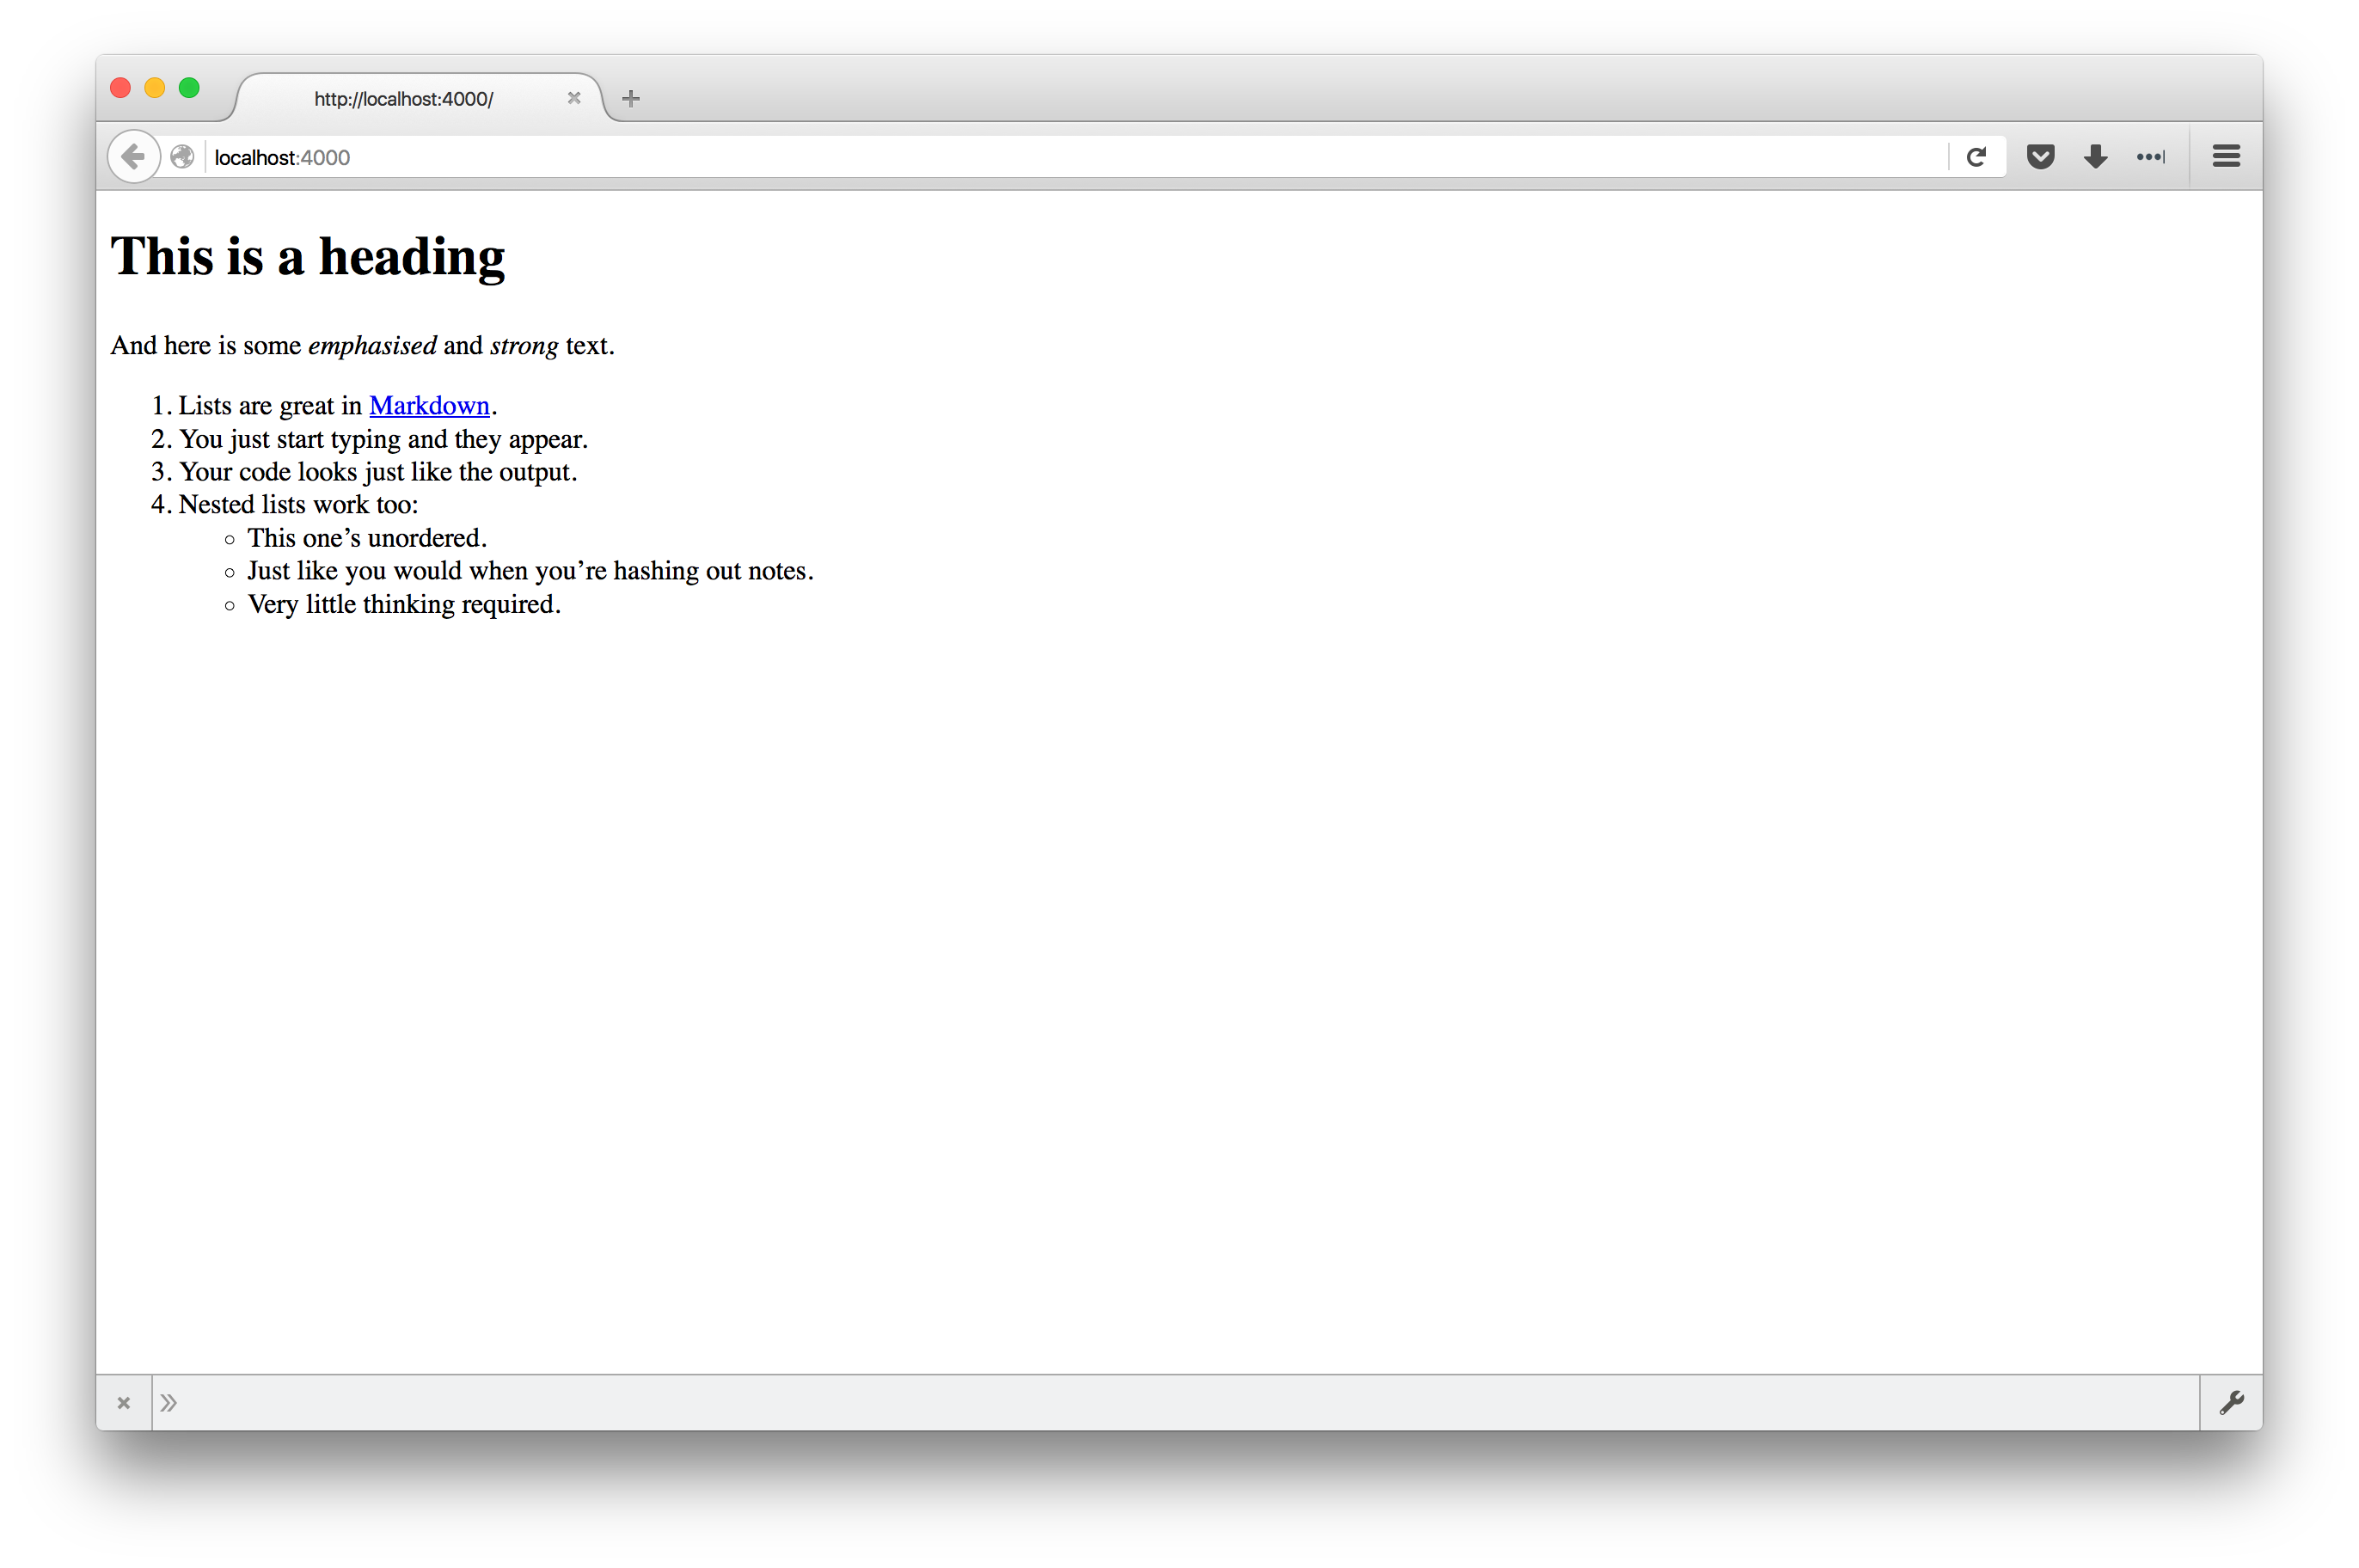
If everything went well, you should see something like this:
Server address: http://127.0.0.1:4000/
Server running... press ctrl-c to stop.
Well, nobody said it was going to be pretty. Start throwing some CSS on top and spruce it up. As you modify the site, you should just be able to hitReload in your browser and see the changes immediately.
Don’t forget to git commit as you go! We’ll be pushing this to GitHub soon, and that commit history is going to be useful when something (inevitably) breaks. This is the Internet, after all.
Oh, one more thing. You don’t want to commit your _site directory, as it’s just the generated form of your other files, so create a file called .gitignoreand put the following into it:
_site
That tells Git not to worry about it.
Time to publish it
Once you’ve got something shiny, get it online. The first step is to create a GitHub repository specifically for your project.
Head over to GitHub and log in, then click the New Repository button.
Create a repository named [your username].github.io. Make sure you spell your username correctly, or it won’t work. Create a new repository
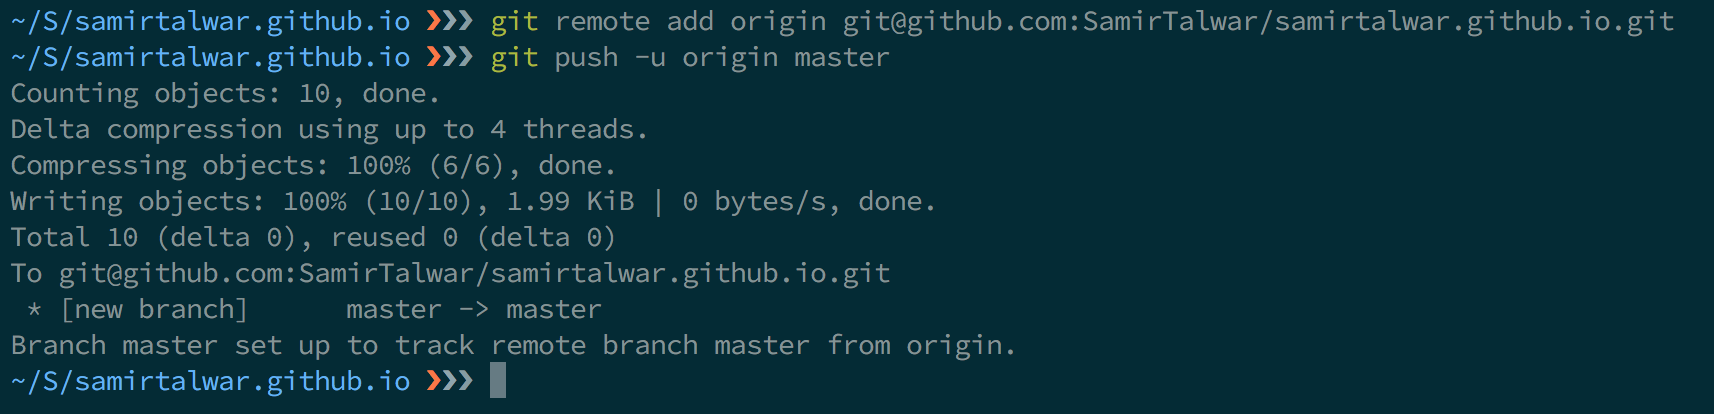
Next, run the commands provided to push your code up to your website. As you already have a repository, you want the second set of commands. Copy and paste them into your terminal.
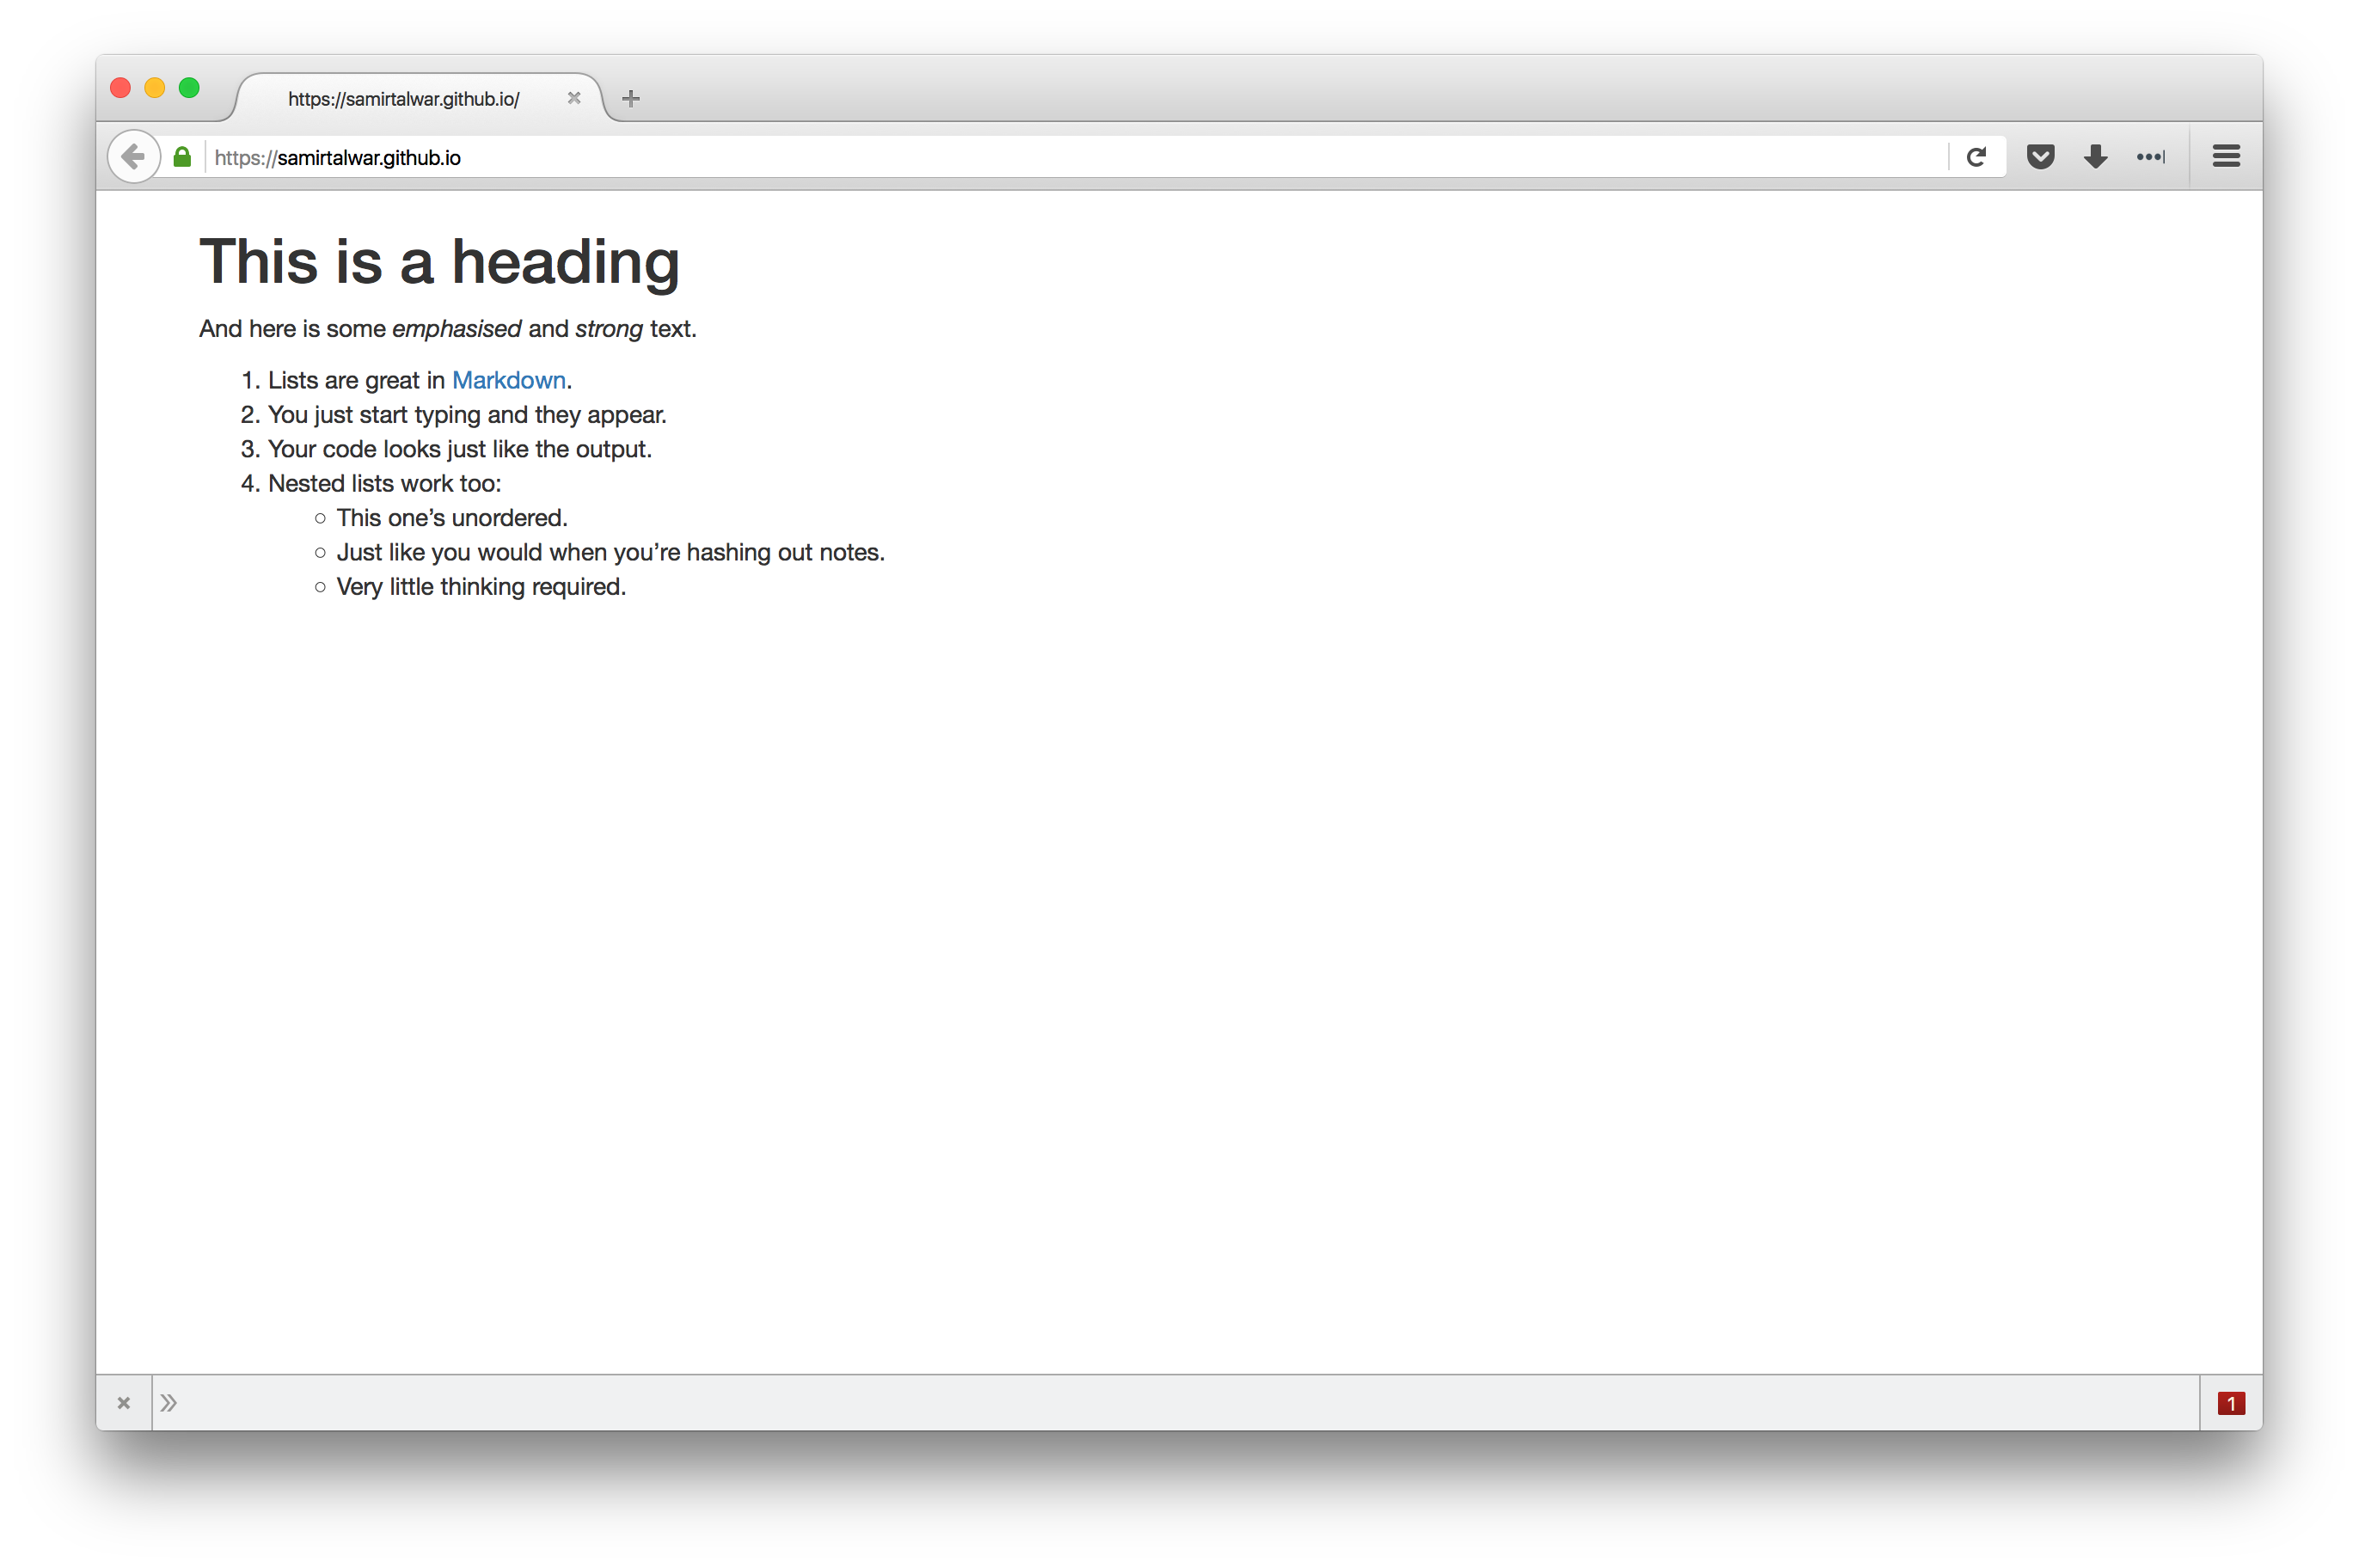
If you reload the GitHub page, you’ll see your files are now up on GitHub. (If you see problems in your command line, you probably need to set up your SSH keys and try again.) Then head over to your new domain and check out your work of art. !Work of Art!
When you want to make a change, just git commit and git push. Your changes will be online in seconds. Free hosting, sorted.
Your domain, because you’re worth it
Once you have your website up and running, you might want to register it with a custom domain name. For example, I don’t use samirtalwar.github.io, I use noodlesandwich.com.
The first step towards this is to register a domain name. There are countless domain name registrars out there, and you’re welcome to pick any of them as long as they allow you to just buy a domain name without hosting. I’m a fan of Hover, which has average pricing, a very usable control panel and great customer support, but it’s by no means the only one. Just stay away from the really big names such as GoDaddy and 123-reg and you’ll be fine.
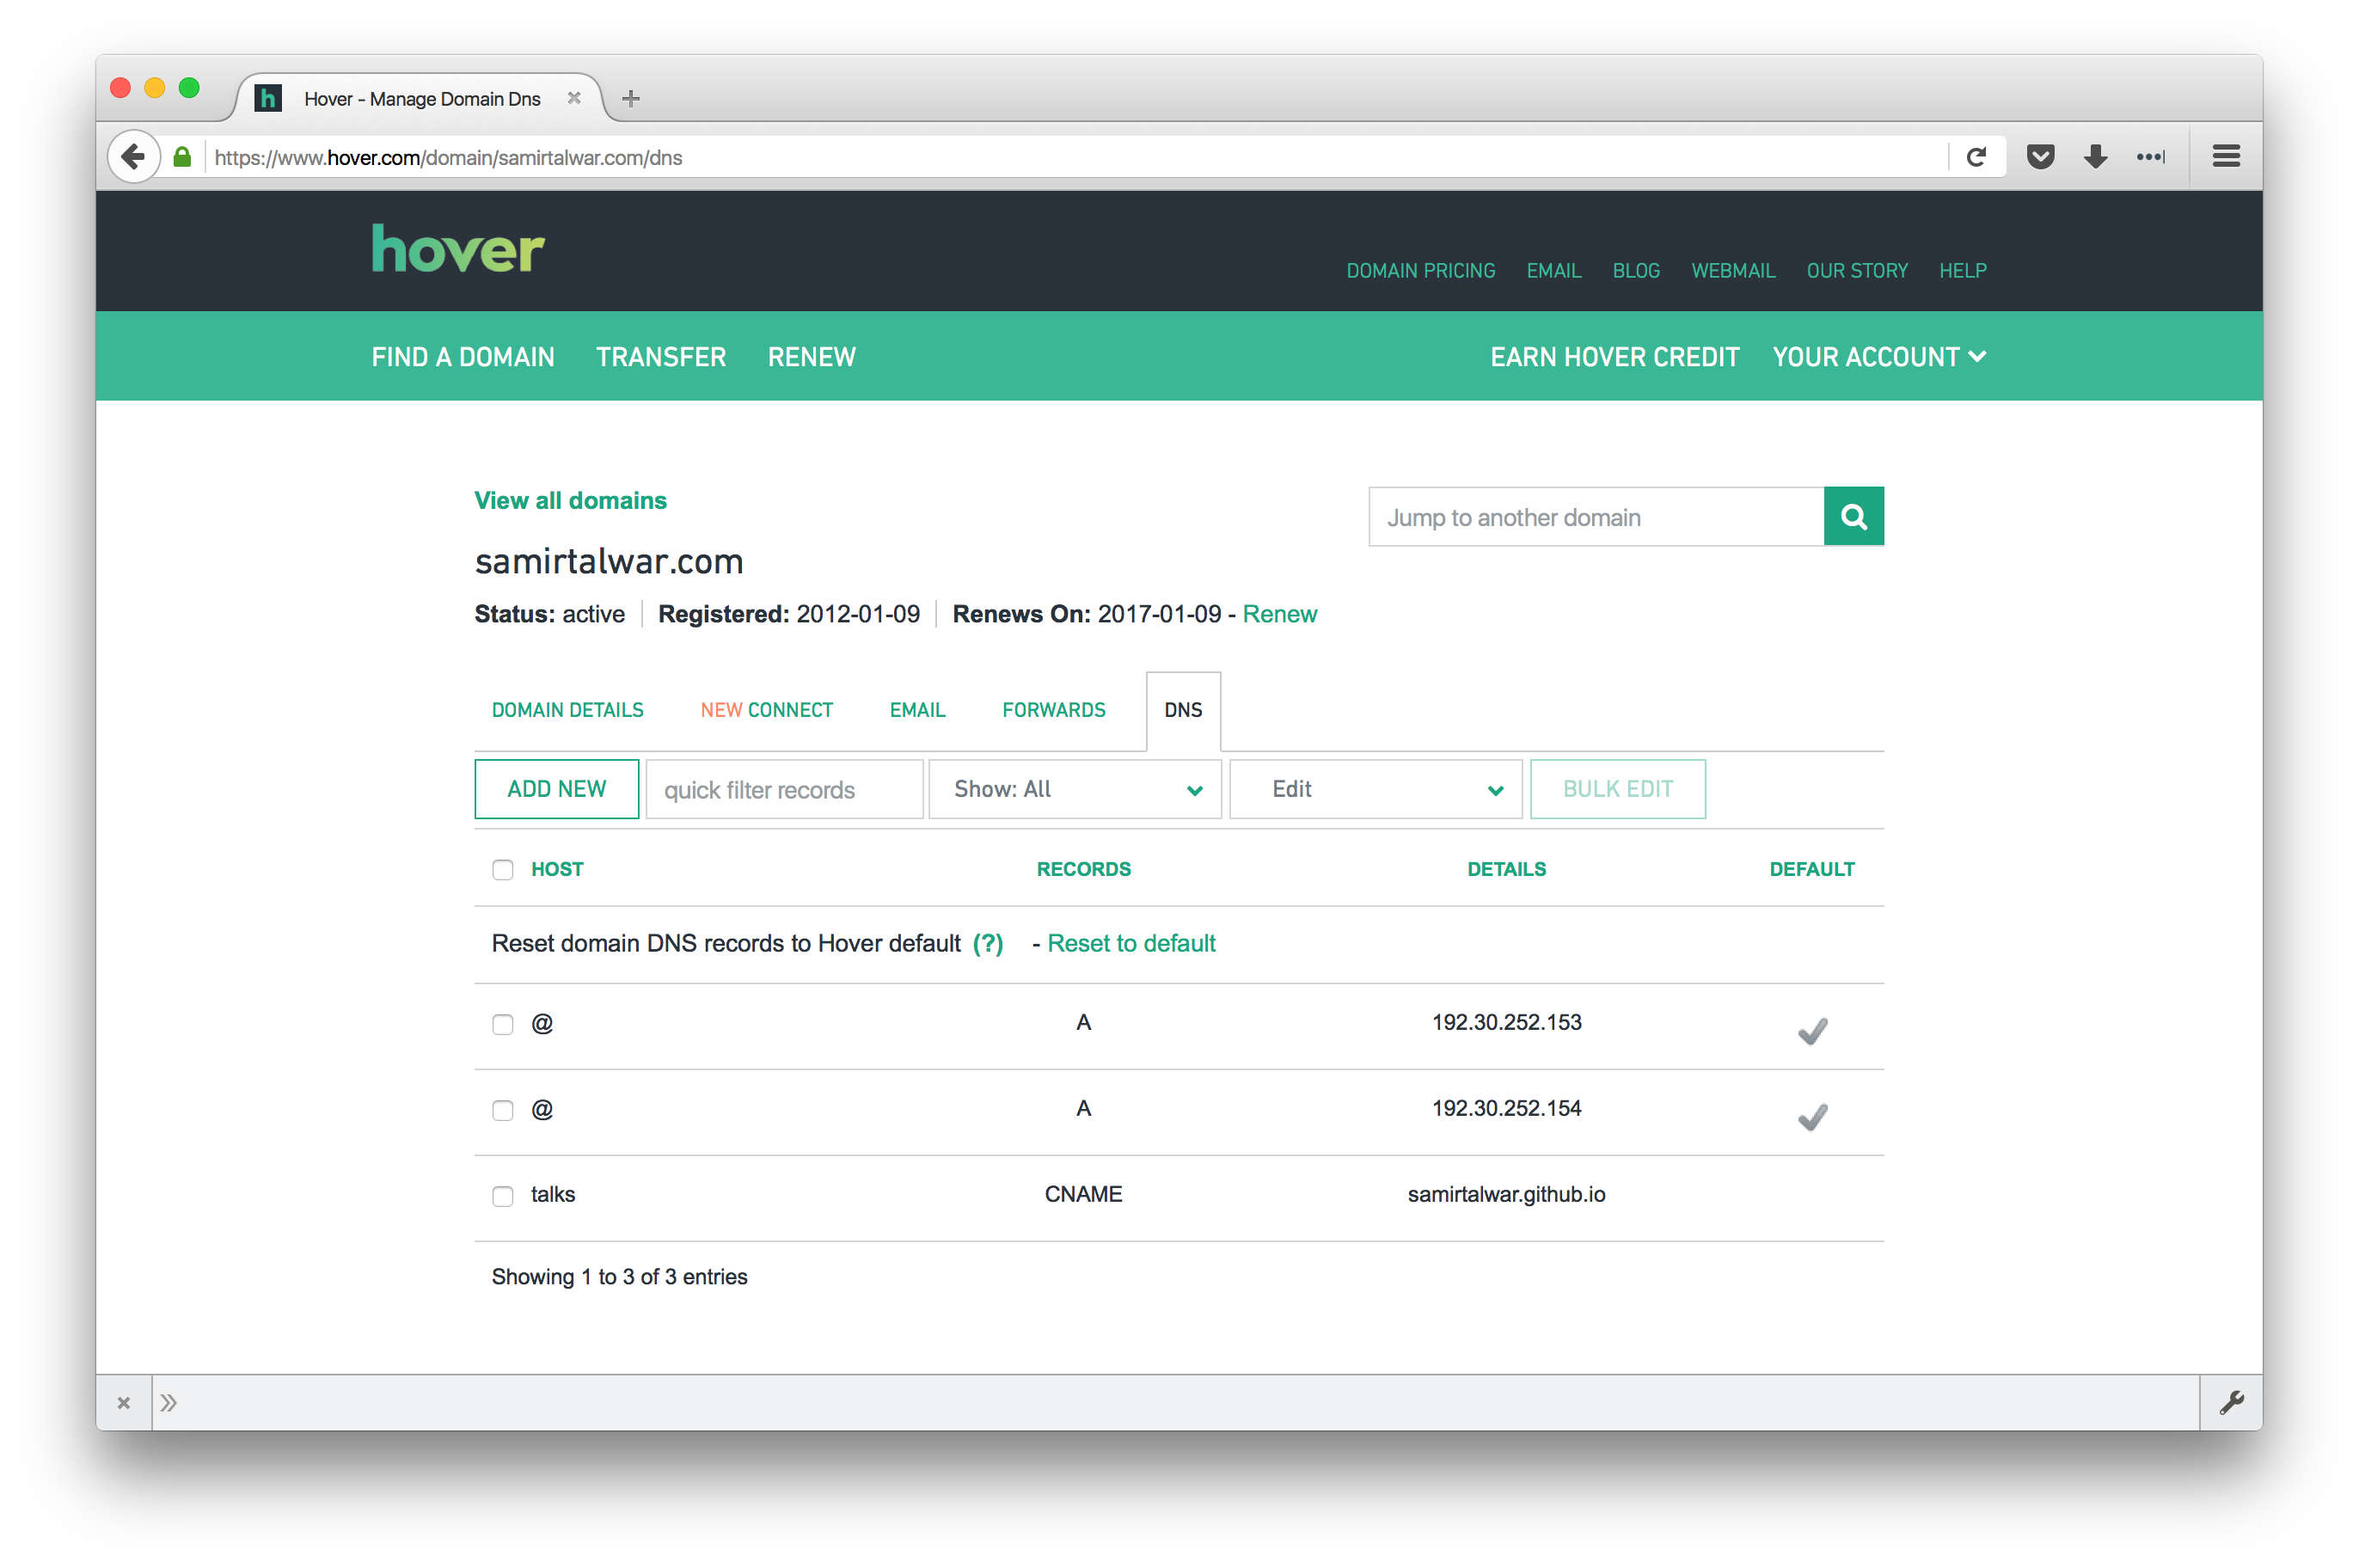
Once you’ve got your domain, you’ll need to point it to GitHub. If you want to use a subdomain (which I use for talks.samirtalwar.com), this is easier. Head over to your domain name registrar and opt to customise the DNS settings for your new domain. If you’re not sure how to do this, Googling “DNS [name of your registrar]” usually finds a useful tutorial.
Once you’re there, you’ll need to set the appropriate records. If you’re looking to set up a subdomain, create a CNAME record with the name of your subdomain (“talks”, in my case) and your GitHub domain as the target. If you’re looking to point your entire “apex” domain to GitHub Pages, then you’ll need to set up two A records with no name (or sometimes “@”), and the two GitHub IP addresses as the values. You can find the IP addresses on GitHub’s own instructions for setting up an apex domain.
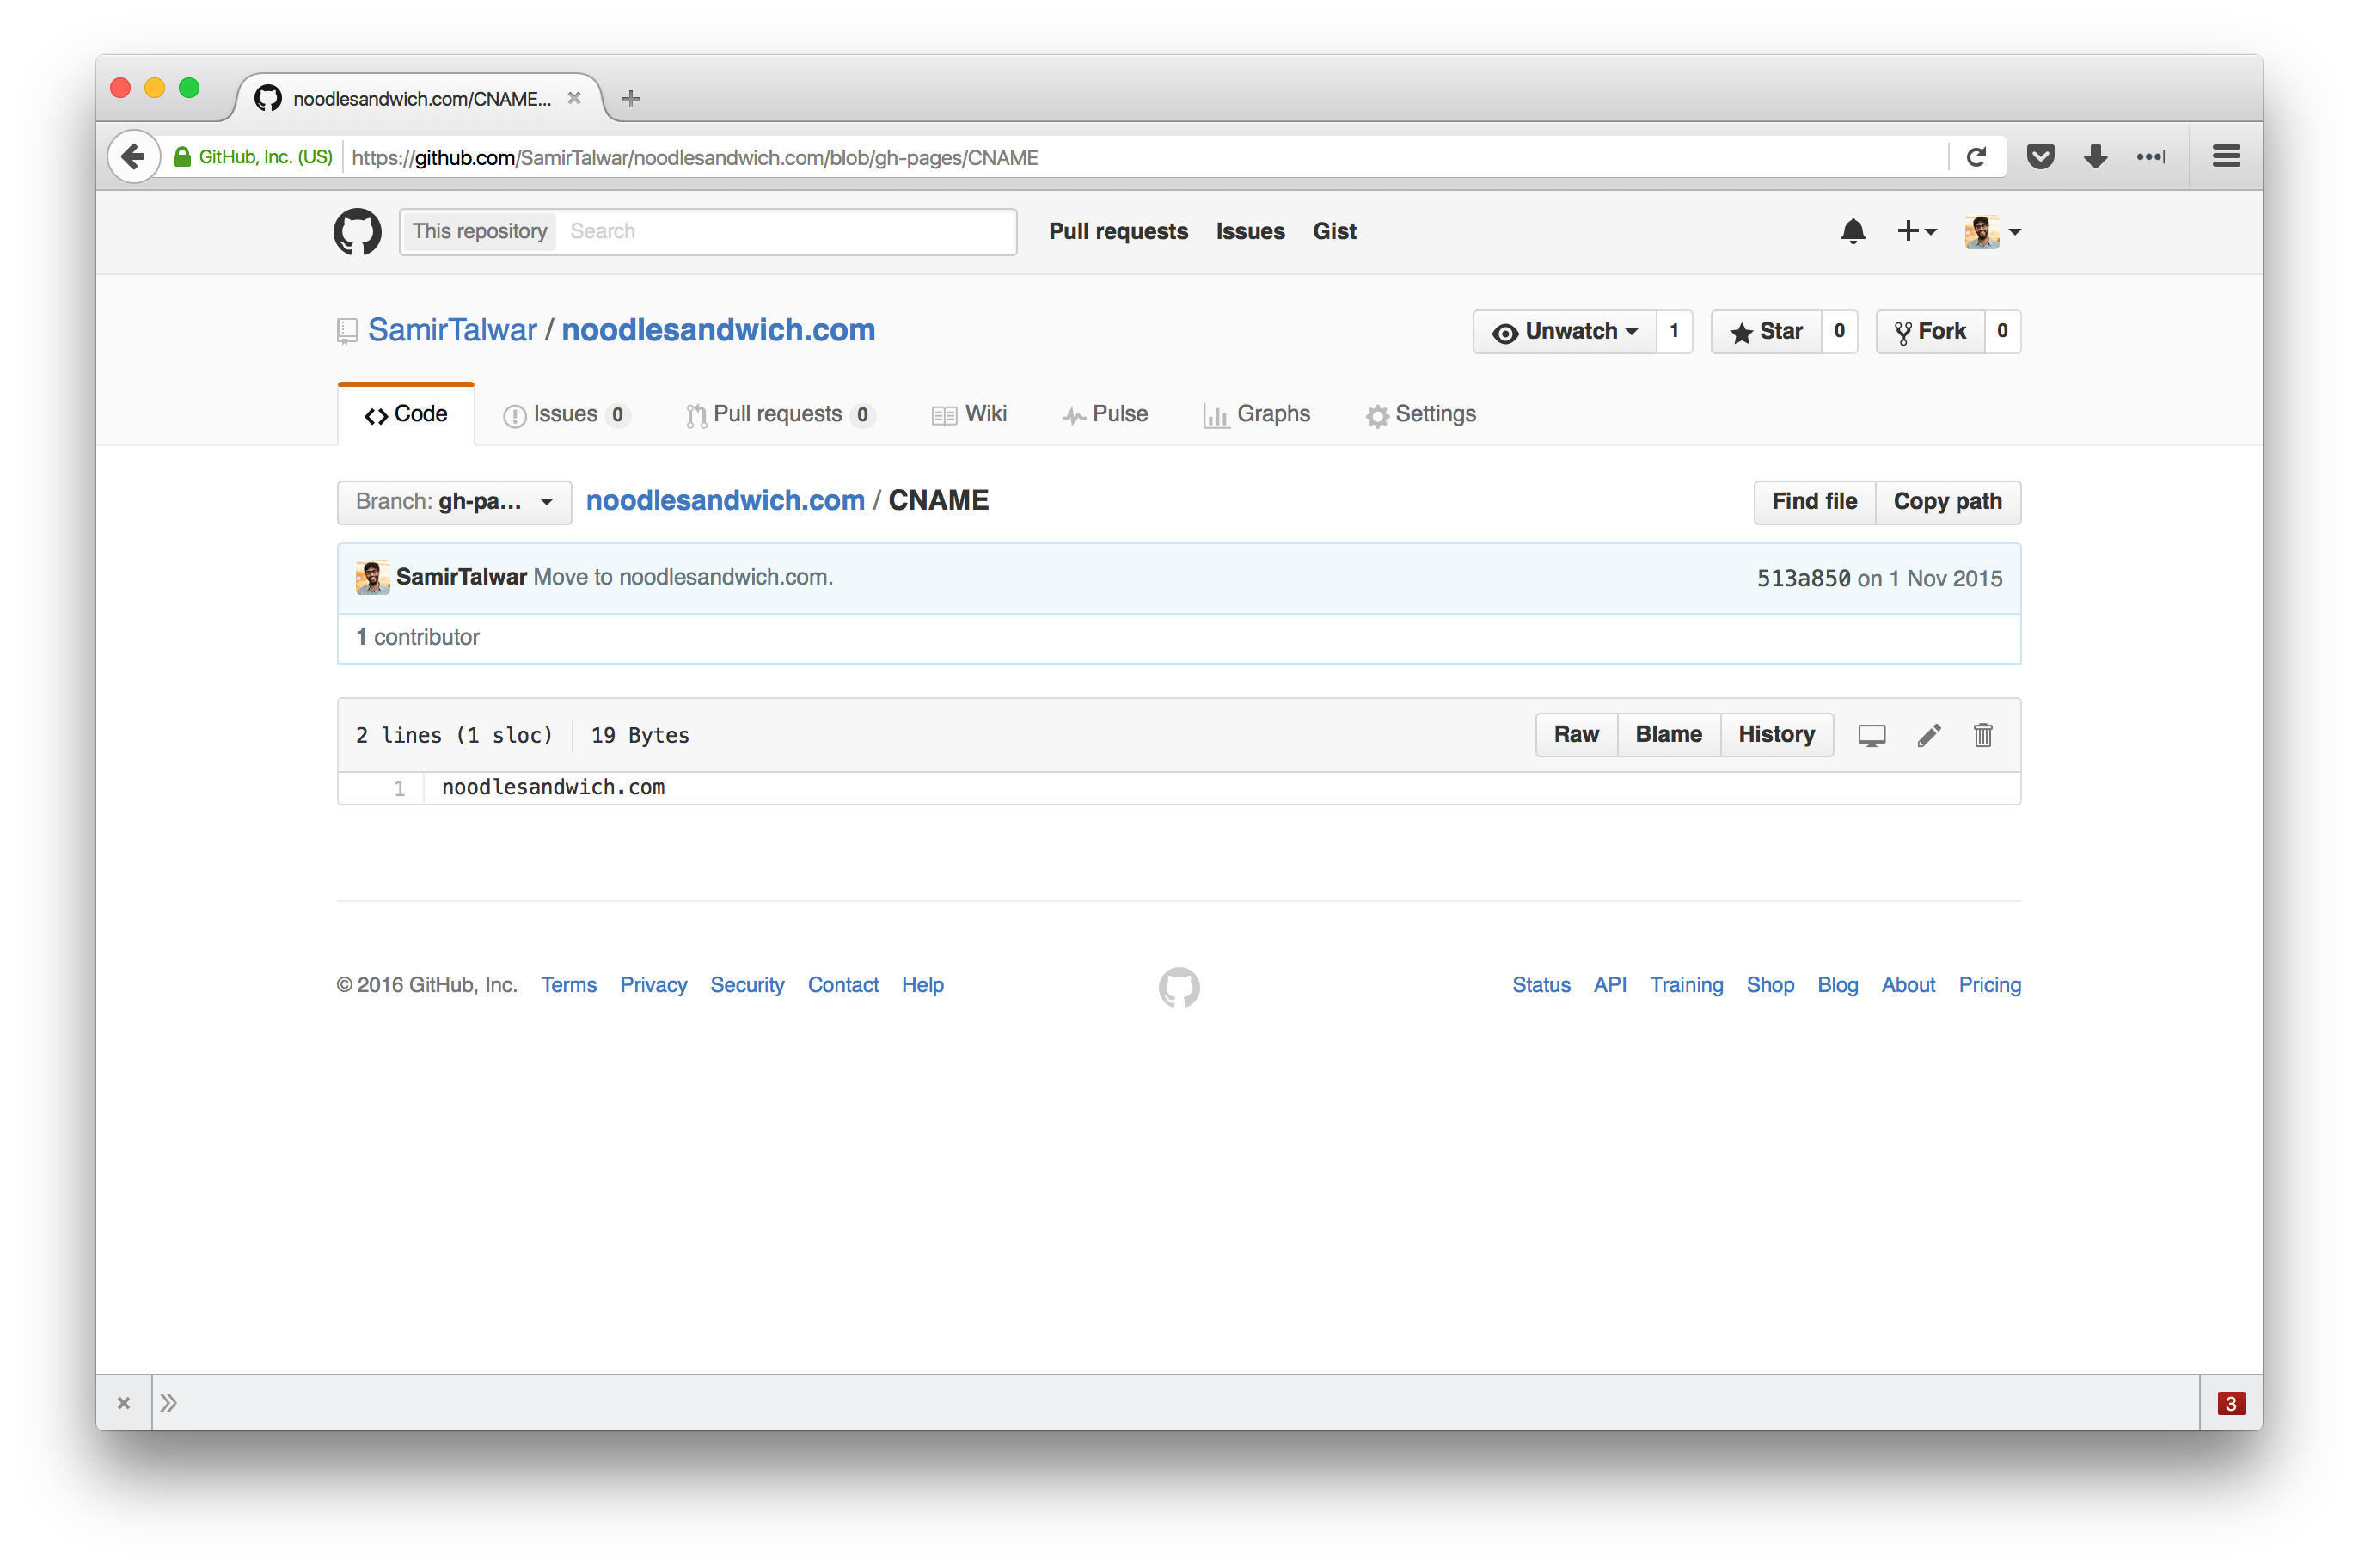
Finally, you just need to create a file in the root of your website source repository called CNAME. It should have one line, which contains the domain you’re looking to point to it. Nothing more, nothing less. For example, if you owned example.com, the contents of CNAME would be:
example.com
Easy. Github CNAME It can take up to 72 hours for your registrar’s DNS servers to propagate the new DNS settings all over the world. That said, it’s usually closer to 24 for an existing domain, and can take as little as 15 minutes for a brand new domain. Keep checking your new domain, and hopefully you’ll have your website up and running on a custom domain name before long.
Next time, we’ll look at hosting images and other files, as well as third-party assets such as CSS and JavaScript.